HP 28S: shucking the clamshell, further. Book?
Message #1 Posted by Geoff Quickfall on 1 June 2011, 5:11 p.m.
Hello all!
I should wait for the relevant chapter of the book to be finished but I had to share the preliminaries of the Clamshell section and the book.
The book
Firstly, the book! Just a quick note, every calculator family up to the stretch pioneers has been disassembled, repaired and restored. Mostly based on my collection, but with some help from two loaners, the 10C and the 19C printing calculators.
Most of the chapters are complete, but I did not realize how big an undertaking this was at first. Especially considering the ease of repair the early calculators are versus the later calculators. Also the HP 41C up to the 41CL now, almost deserves a book on its own!
Today and the 28s
Case in point, I have a 28S that has a bad connection between the keyboard and the PCA. I assumed this was due to a decomposing compression foam connection between the keyboard and the PCA. After looking up info and emailing I decided to remove the keypad overlay and enter the calculator via the heat stakes in the front. This will entail shaving a minor amount off the top of the heat stakes so that reassembly will be facilitated. Enough info on the pry method leaving the keypad overlay in place indicated to much damage can occur to the plethora of heat stakes present.
Well, I did not apply heat to the top label as I tried to remove it from the calc. This resulted in half the label remaining on the calc and half staying with the clear plastic overlay. By heating the remaining half of the overlay the label came off cleanly. I can make up a reasonable facsimile with the printer reusing the clear plastic of the overlay.
Using this knowledge, I heated the lower overlay and gently removed it in perfect condition. Much easier then the overlay removal of the pioneers. The overlay is composed of three parts:
1.  clear plastic cover
2.  reverse applied label
3.  glue layer.
If the label is not heated gently, then the glue and label separate from the clear plastic cover and is not salvageable at that point. Not a problem on the top, but a big problem on the lower keyboard overlay.
Back to the calculator, WHICH, I thought I would disassemble to the nth degree for documentation. This was due to the ASS-U-MED need to get to the deteriorated foam. In my defence the problem with the calculator keypad; non functional ENTER, 7,4, 1 keys manifested itself exactly like a Pioneer/Stretch Pioneer with a deteriorated compression foam.
From the pictures below you can see the actual problem with the keyboard PCA connection and the importance of heat stakes. Due to a manufacture flaw OR severe flexing of the calculator, some of the heat stakes separated from their bases.
In retrospect, I did notice that the side with the weak heat stakes was sitting prouder to the back shell then the rest of the keypad. Also that pressing gently on that corner facilitated a functioning calculator!
Okay, now to edit in light of a careful examination and help from Randy (the stuff in italics is wrong). I thought I would leave the wrong stuff in but italicize it to show how, without manuals or fore knowledge, as system can be mis-interprete; at least by me
;-0
I thought the loose parts were replaceable. In fact they are broken stakes. I will try Randys suggestion of using a styrene post affixed from the back, and protruding through the now vacant hole in the keyboard side. I will have to drill a hole through the back to facilitate this. Once the base is securely glued in place I will melt the top into position. I guess one could also sew with wire throught the holes and back down the side with the broken stakes. Not pretty though as the wire would be visible from the back.
Now the dilemma, I have a very easy repair that does not require further disassembly of the good heat stakes. Simply a glue fix with clamps overnight and then reapplication of the keyboard bezel.
Fortunately for me and the book, I have a second functional 28S with a dropped LCD column in the display. Something I could live with but don't have to now. I also have a, according to the seller a completely defunct 19B Business Consultant II on its way which is a candidate for complete disassembly.
So I thought I would have all the documentation done today for the Clamshells but it has now been delayed for the arrival of styrene rods.
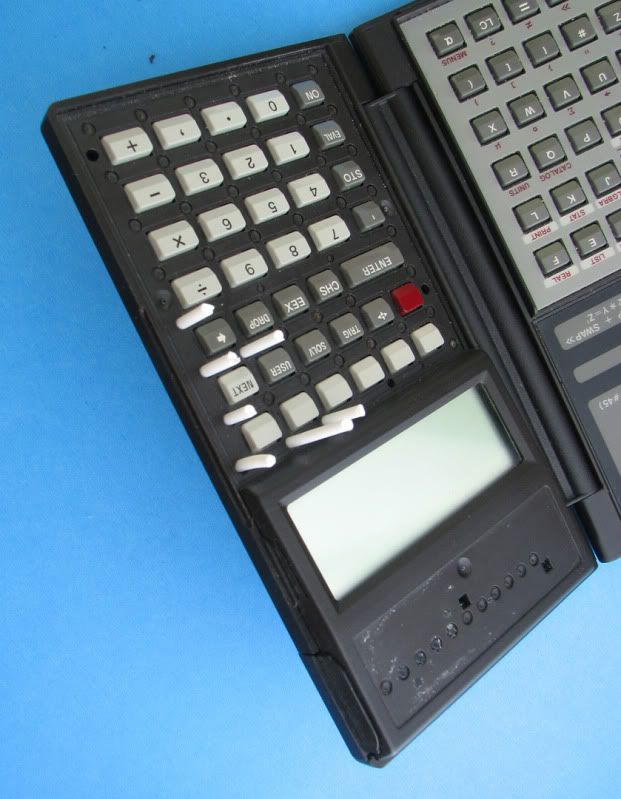
In any case I thought you would appreciated some preliminary photos of the 28S disassembly, to the point where the fault was found.
Cheers, Geoff
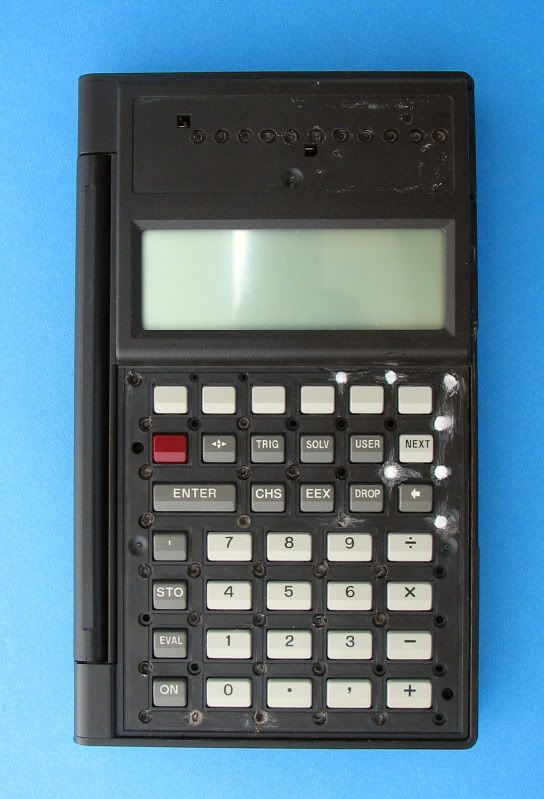
The calculator as it arrived:

The fault label that succinctly describes the problems:

How not to remove the label as explained in the text! The fix will be to photoshop a new label and use the original plastic overlay to protect it. If done correctly it should almost be identical.

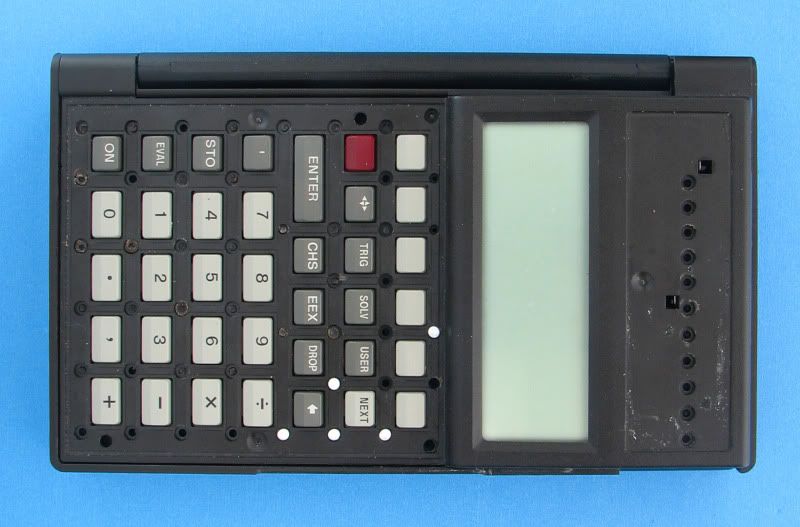
The keyboard label removed intact, with the loose heat stake caps. These mushroom caps ends of the stakes are heated to form a single piece rivet. The flaw in the flex of the keyboard and the fact that this is where the latch is located indicate a flaw in the design. Randys posting also reinforces the idea that this is due to a bad flex in the design. They are actually stuck to the adhesive back of the keyboard label:

The location of all the heat stake tops including the broken ones highlighted with translucent yellow circles.

Functional calculator as evidenced by the display when gently pressing down where the broken heatstakes are missing:

ADDENDUM:
on closer inspection, these are broken posts, as Randy discusses. So opening the calculator up will now go ahead as it is not a case of simply gluing these into position
Edited: 1 June 2011, 7:20 p.m. after one or more responses were posted
|