The Museum of HP Calculators

HP Forum Archive 19

[ Return to Index | Top of Index ]

Voyager HP-10C restoration and bezel replacement. and the book.
Message #1 Posted by Geoff Quickfall on 27 July 2009, 12:37 a.m.

Hello all,

Here is a shot of a 10C that I did today and the restoration techniques used comprise the bulk of chapter 9 "Voyagers". The aluminum bezel was replaced with an undented donor that I restored to it's brushed finish. The keyboard is now functional, in fact this one did not work due to a broken solder joint and dirty logic pca zebra connector. This is an early version with the separate logic pca and LCD panel.

The second half of chapter 9 will feature a complete strip down of an 11C and removal of the keyboard from the case. The book is up to 105 pages and should top out at 230 pages when completed. So far there are 144 figures all referenced to the text in a step by step restoration process, similar to the following:

So far the following chapters/appendices are completed:

Introduction Acknowledgements Contents Chapter 1 About Restorations Chapter 2 Classics 34 figures HP-65 HP-45 HP-55 Chapter 3 Woodstocks 8 figures HP-29C Chapter 6 Cricket 25 figures Chapter 8 Coconut 55 figures HP-41CX halfnut HP-41CV fullnut Card reader Rechargeable battery pack Double x-memory module Chapter 9 Voyager 25 figures HP-10C early version with separate logic PCA 1982 HP-11C late version 1989 Appendix A Tools and Materials Appendix B Battery Pack Substitute 20 figures Drying boxes Overlay labels for the HP 41 Rubber feet fabrication Static Electricity protection techniques Appendix C Diagnostic programs for various early calculators Appendix D Terms and definitions Appendix E Links to the Web

The following need to be completed:

Chapter 4 TopCat HP-97 Chapter 5 Sting HP-19C HP-10C Chapter 7 Spice HP-34C unsoldered Chapter 10 Titan Early version HP-71B Late version HP-71B Chapter 11 Clamshell to be annouced (possible an HP28C) Chapter 12 Pioneer to be announced (possible an HP42S with memory enhancement) Chapter 13 Charlemagne HP48SX

I am hoping to have this ready for HCC2009 but we shall see if life gets in the way. In fact, most of the uncompleted chapters have been photo documented but the text needs doing so they should flow rather well.

I hope some one out there would like a copy. It will be spiral bound, full colour 8.5 by 11 inches in size so that the photo/figures are easily readable.

Thats all for now!

Edited: 27 July 2009, 1:09 p.m. after one or more responses were posted

      
Re: Voyager HP-10C restoration and bezel replacement. and the book.
Message #2 Posted by Walter B on 27 July 2009, 1:38 a.m.,
in response to message #1 by Geoff Quickfall

Hi Geoff,

Great work!

Quote:
I hope some one out there would like a copy. It will be spiral bound, full colour 8.5 by 11 inches in size so that the photo/figures are easily readable.
For sure they will :) Any idea about the price?
            
Re: Voyager HP-10C restoration and bezel replacement. and the book.
Message #3 Posted by Geoff Quickfall on 27 July 2009, 1:09 p.m.,
in response to message #2 by Walter B

Don't know the costs yet! That of course is based on the quality of paper, number of colour photos and etc. Once the book gets closer to completion I will have a handle on the cost.

I would like to cover the costs to produce the copies and of course shipping and at the end of it all, take my wife out for dinner based on the profit ;-)

Cheers, Geoff

      
Re: Voyager HP-10C restoration and bezel replacement. and the book.
Message #4 Posted by Marcus von Cube, Germany on 27 July 2009, 5:53 a.m.,
in response to message #1 by Geoff Quickfall

Put me on the list, even if I will never be nearly as proficient as many others here. The book will possibly prevent me from killing one of my precious HPs.

            
Re: Voyager HP-10C restoration and bezel replacement. and the book.
Message #5 Posted by Gerry Schultz on 27 July 2009, 3:27 p.m.,
in response to message #4 by Marcus von Cube, Germany

Count me in too, Geoff. If you bring copies to HHC 2009, I will buy one. From what I've seen in your postings, I am very impressed by all the work you put into this, so save me a copy.

See you in Ft. Collins!

Gerry

      
Re: Voyager HP-10C restoration and bezel replacement. and the book.
Message #6 Posted by RonaldP on 27 July 2009, 7:34 a.m.,
in response to message #1 by Geoff Quickfall

Hi Geoff

Very nice, I certainly like to have a copy when available.

I suggest you also add a chapter on the HP10 / HP 19C.

I can suply you with pictures from the insde when needed.

Br

Ronald

            
Re: Voyager HP-10C restoration and bezel replacement. and the book.
Message #7 Posted by Geoff Quickfall on 27 July 2009, 11:58 a.m.,
in response to message #6 by RonaldP

Hello Ronald,

Chapter 5, "Sting" is both the 10 and 19C printer calculators. Wlodek Mier-Jedrzejowicz has lent me both the 10 and 19C for disassembly for the book.

I will be picking them up on my next London layover, but will keep your kind offer in mind. However I would appreciate a set of your photos. I am trying to keep the photo consistent (blue background for printing) and also part of the novelty of the book is that I have done all the restorations and repairs. Each step is photo documented with labels and text references so consistency is a requirement!

I am using a lot of resources including service manuals, the museum articles and archives as well as HP employees and consultants from the past.

Cheers, Geoff

                  
Re: Voyager HP-10C restoration and bezel replacement. and the book.
Message #8 Posted by Richard J. Nelson on 27 July 2009, 1:15 p.m.,
in response to message #7 by Geoff Quickfall

Hello,

We saw many examples of Geoff's restoration skills at HHC 2008 and read about them in HP Solve.

He will demonstrate his restoration techniques for the HP-41 at HHC 2009 in Ft. Collins CO. See details at:

HHC Websites

When HP provides their facilities to hold the conference we have a special situation in terms of keeping cost down and the benefit/cost ratio is exceptionally high. See the Conference reports at the above link. We have only had this situation during a small percentage of our Conferences since the first in 1979. With everything changing so fast these days the future is evermore unpredictable. If you have been putting off attending and you have a special interest in the future (and sell/buy/swap the 30 year old HP-41 system) this should be the year you attend. With HP selling off their campuses we may not have these opportunities as often in the future.

X < > Y,

Richard

      
Re: Voyager HP-10C restoration and bezel replacement. and the book.
Message #9 Posted by Giovanni Jimenez on 12 Aug 2009, 11:21 a.m.,
in response to message #1 by Geoff Quickfall

Please save a copy for me, and a question for you:

I have a nice working HP-15C, but the aluminum bezel is scratched. In your opinion, is it worth restoring the bezel to bring the calc close to perfection, or are there any risks (collaterla damage) to the functionality of the calc in doing this ?

Thank you !

            
Bezel restoration in place with pictures and glimpse of what the book includes:
Message #10 Posted by Geoff Quickfall on 12 Aug 2009, 5:48 p.m.,
in response to message #9 by Giovanni Jimenez

Hello all

Any one wondering what will be in the book can look forward to a variety of techniques for restoring the calculator from electronics to physical shape. Here are some steps found in the Voyager section (in point form here, not quite as in depth) with accompanying pictures. The text will have many more intermediary photos with accompanying explanations.

I have designed the book to help the (like me) non technically oriented to restore the basic problems in mechanical design as well as the most frequent, fixable electronic problems (LED block replacement, contact cleaning, substitutes in foam inserts and etc.)

In a nutshell the book is:

1. about 250 pages

2. over 300 photo illustrations with accompanying text for all thirteen calculator families up to and including the Stretch Pioneers.

3. 130 pages completed so far including chapter 8, the HP-41C series

a. HP halfnut restoration

b. HP fullnut restoration

c. Rechargeable battery pack reconditioning

d. Memory enhancement (2X-memory)

4. Hoping to be done for HCC2009 in October but it still has to be peer reviewed by the committee.

5. Expecting to be on demand publishing but I should have some copies made up prior to that (don’t know the cost yet).

Hello Giovanni!

Thanks for the order, now to complete the book (half way and counting).

There are two methods to restoring the Bezel.

"REPLACING" OR "RESTORING while in place."

I am going to consider that the bezel is scratched and not dented, i.e. you would rather remove the scratches and refinish with a brushed finish with the bezel in place.

1  cover the clear plastic lens with a non sticky piece of paper
   which covers the lens only and not the two depressed bezel
   pieces at either end.  Any application of a sticky mask to the
   lens and subsequent removal may only serve to remove part of the
   anti reflective coating.  Hold this in place with a piece of
   masking tape long enough to attach to the two depressed bezel
   pieces at either end.
2  if the HP15C badge is metal (pre 1982?) then mask it, other wise
   remove it by applying heat to the badge with a hair dryer then
   gently prying it off.
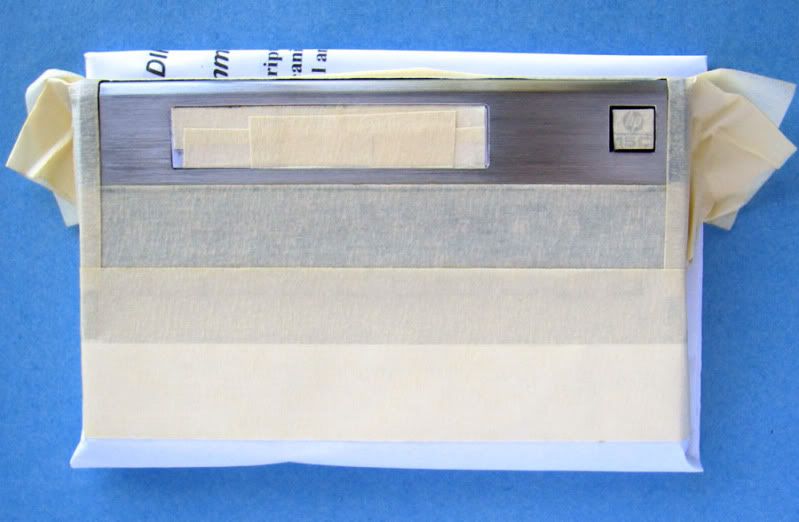
3  mask the entire calculator seen in the picture below.
4  once masked, secure a piece of 400 grit wet dry sand paper,
   green plastic pot scrubber (scotch brite), alcohol and gloss
   lacquer spray can.
5  using a parallel motion, be as accurate as possible, use a 
   stroking motion with the sand paper parallel to the
   longitudinal axis of the calculator until the old lacquer is 
   completely removed as well as the scratches.
6  to remove the harshness of the finish, repeat step 5 with the
   plastic pot scrubber material.
7  clean with alcohol to remove any oily residue and remask the
   lens if required.
8  spray the lacquer according to the manufactures requirements,
   many light coats as opposed to a runny heavy coat.
9  let dry overnight.
10 heat the masking tape until warm to the touch to soften the 
   adhesive prior to removing the tape.  This IS IMPORTANT!!!!
   The heat softens the adhesive and when removing from the back
   of the calculator it, when warm, will release without removing
   any labelling on the instructions.
11 Reglue the badge in place with contact cement.

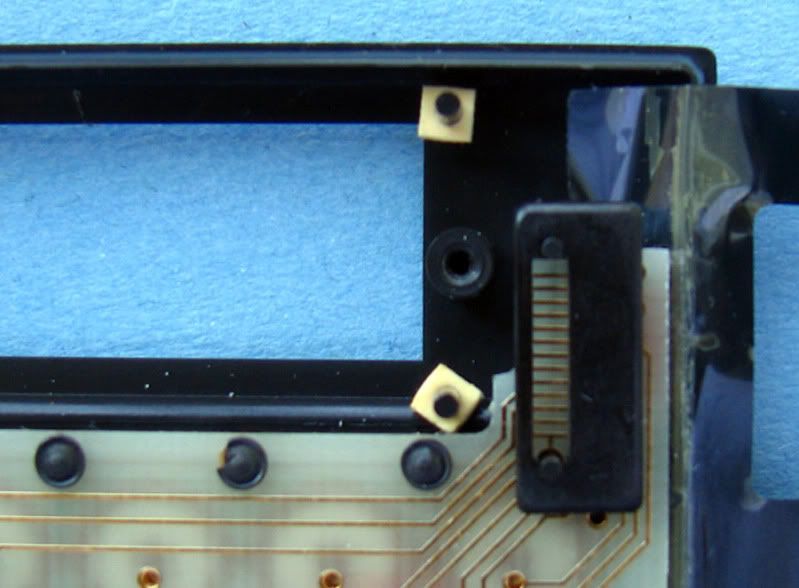
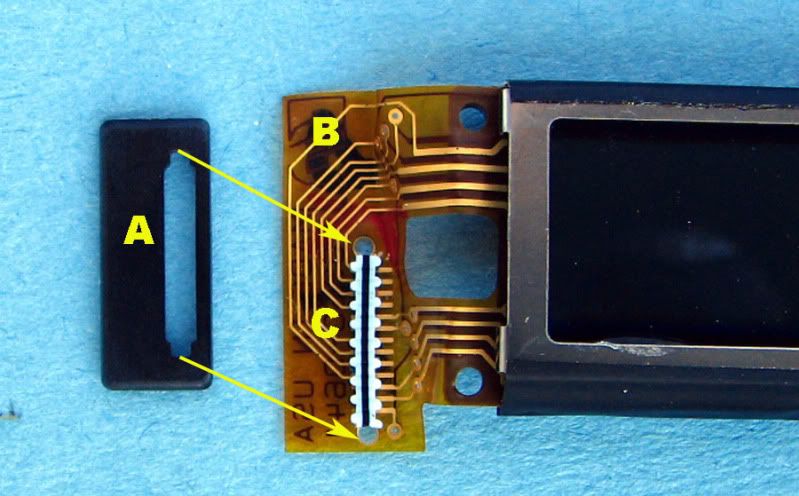
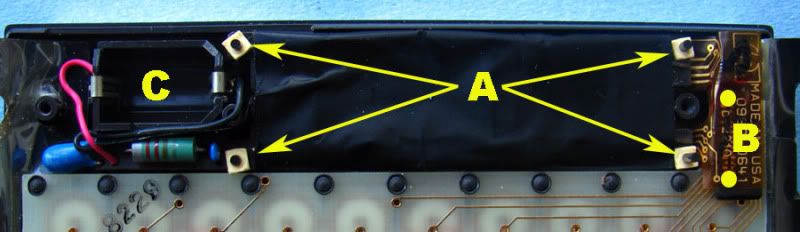
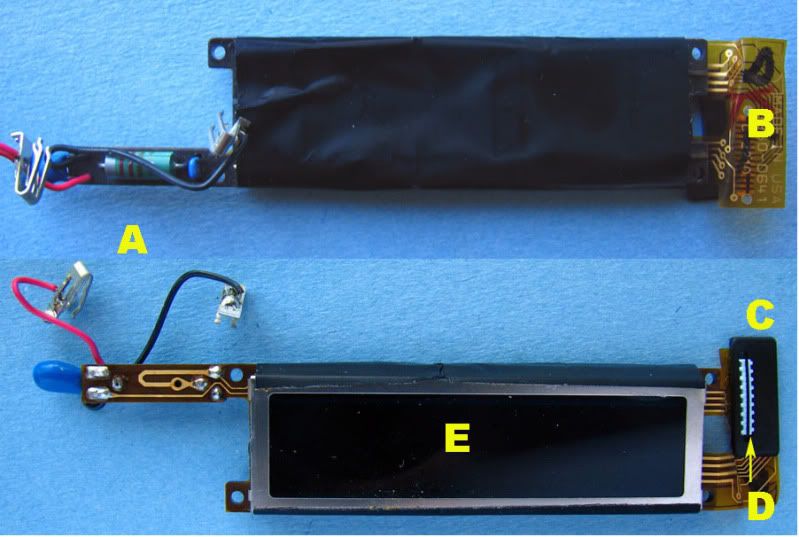
Removing the bezel is a long process that must be carefully done with precautions. It requires lots of heat so the LCD must be removed in the early two piece versions (HP-15 I don't think was ever the two piece PCA) or protection of the LCD panel with cloth. You will have to wait for the book for that! If the bezel is just scratched and not dented then refinish the bezel in place.

HP-15C MASKED FOR REFINISHING AND LACQUERING IN PLACE WITH NEW OLD STOCK METAL BADGE MASKED:

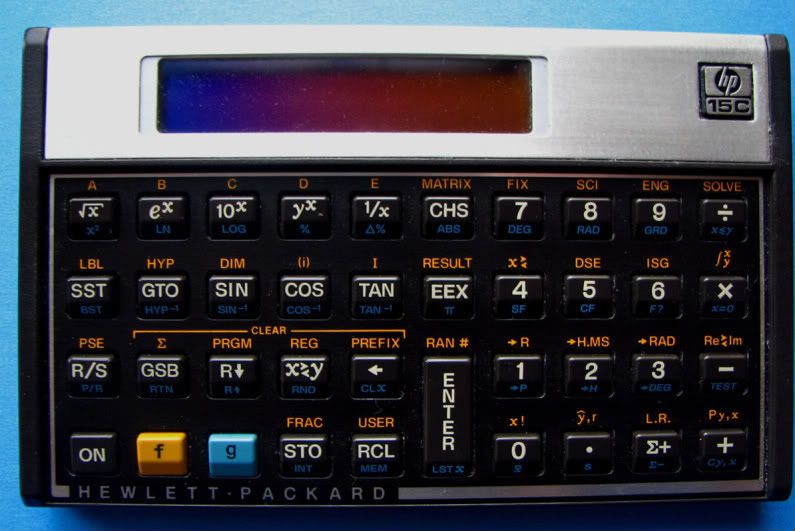
HP-15C WITH REFINISHED BEZEL WHILE BEZEL WAS IN PLACE (dark LCD lens due to polarizer on camera interfering with polarizer on LCD panel):

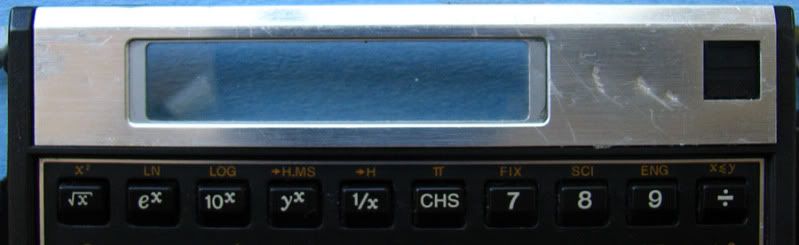
HP-10C BEZEL BEFORE BEZEL REMOVAL PICTURING THE THREE DENTS ON THE RIGHT SIDE WHICH COULD NOT BE SANDED OUT:

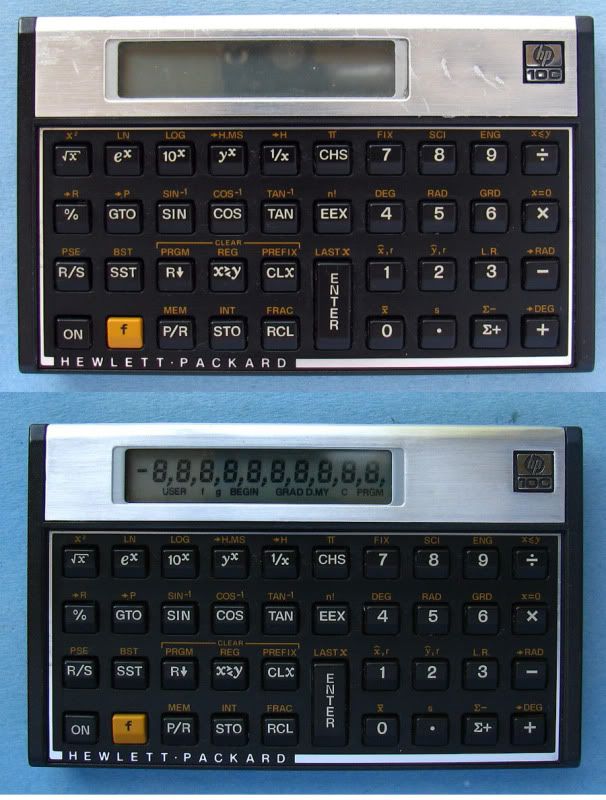
HP-10C BEZEL REPLACED WITH AN HP-11C DONOR THAT WAS REFINISHED AFTER REMOVING IT:

BEFORE AND AFTER BEZEL REPLACEMENT ON THE HP-10C:

Hope this helps!

Cheers, Geoff

Edited: 12 Aug 2009, 6:03 p.m.

                  
Re: Bezel restoration in place with pictures and glimpse of what the book includes:
Message #11 Posted by Ignazio Cara (Italy) on 13 Aug 2009, 3:59 a.m.,
in response to message #10 by Geoff Quickfall

Wow, you are a big wizard. And yes, I wish to buy a copy of your great manual when it will be available.

Regards

Ignazio

                  
Re: Bezel restoration in place with pictures and glimpse of what the book includes:
Message #12 Posted by Giovanni Jimenez on 13 Aug 2009, 2:33 p.m.,
in response to message #10 by Geoff Quickfall

Thank you Geoff...very informative; I might even buy 2 copies of the book :)


[ Return to Index | Top of Index ]

Go back to the main exhibit hall