HP Articles Forum
[Return to the Index ]
[ Previous | Next ]
HP-41 Post Replacement
Posted by aj04062 on 12 July 2012, 9:45 p.m.
The following documents a pretty straightforward method to replace broken posts on your HP-41 calculator.
Parts needed are:
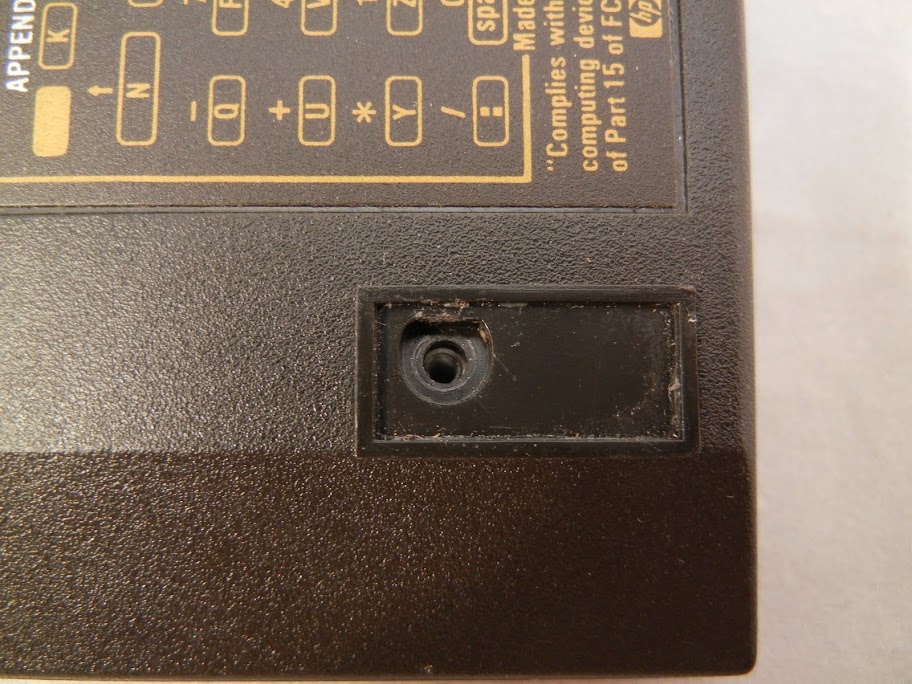
1) Aluminum standoffs from Keystone Electronics Corp PN 1801B, Mouser PN 534-1801B
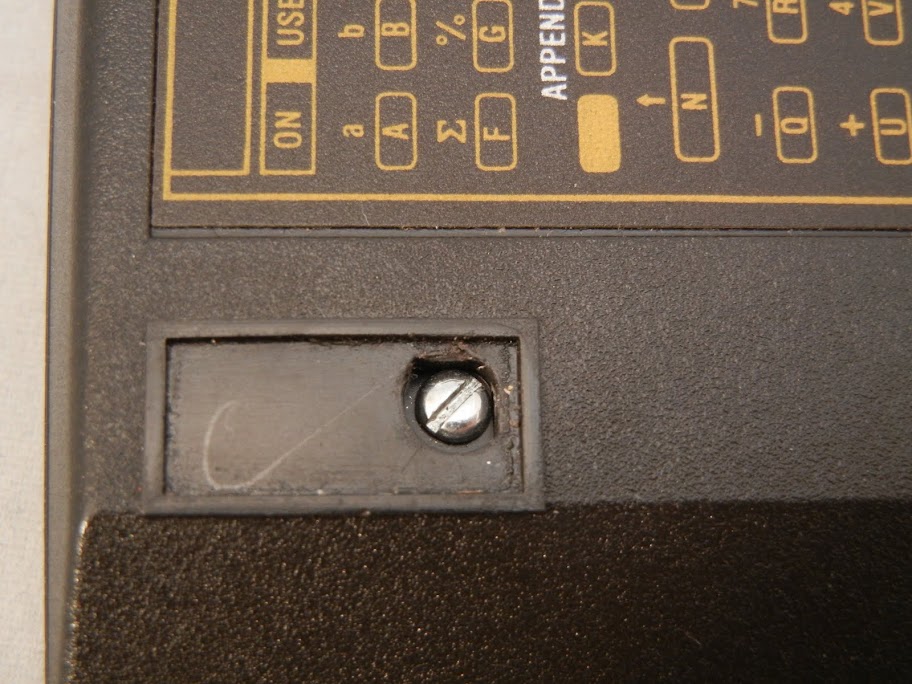
2) 2-56 x .25 lg Pan Head screw, Mouser PN 534-9355
3) 2-56 x .75 lg Pan Head screw, Mouser PN 534-9357
4) two part epoxy
Tools needed are:
1) .156 diameter or equivalent drill
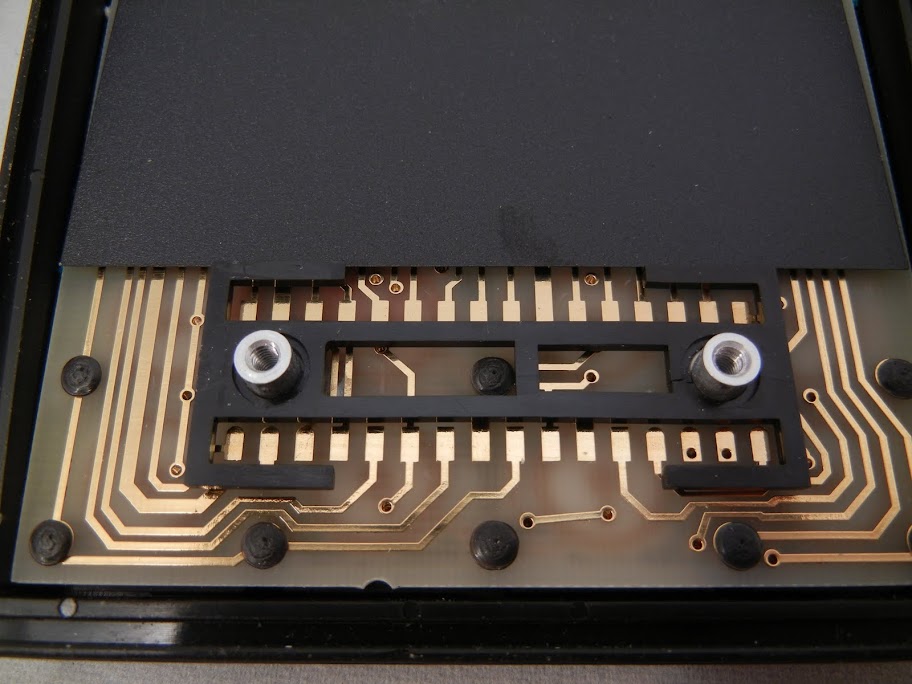
I started by measuring the height of the existing post. I do not have that right now, but you need to match that by drilling the hole at the right depth. I applied masking tape to the front side and to the back side to prevent chips from getting into the keyboard or places I did not want.
Next carefully drill out the existing posts. With a 118 degree drill tip, you can generally follow the existing hole. You shouldn't need to go much further below the board by the thickness of the PCB. If you have a drill press, this can be done a lot easier. Insert the post into the hole and check to see if the height of the post matches the old post. I have found it can be a little short. Be careful not to go too far. If you do, you can break through the keyboard overlay.
Then mix the epoxy and glue the posts in place. I installed the back and lightly screwed the #2 screws in to make sure that stayed generally aligned.


Edited: 12 July 2012, 9:48 p.m.