The HP 45 complete restoration with PICTURES!
Message #1 Posted by Geoff Quickfall on 18 Jan 2008, 5:00 p.m.
I purchased this through ebay as a parts machine.
When it arrived I noticed the case, aside from the labels on the side was in pristine condition, almost perfect with no attempt to access the insides.
The keyboard was unresponsive on 80% of the keys, the on off switch was intermittant at best. The only way to power it up was with an adapter as the battery function seemed unservicable also.
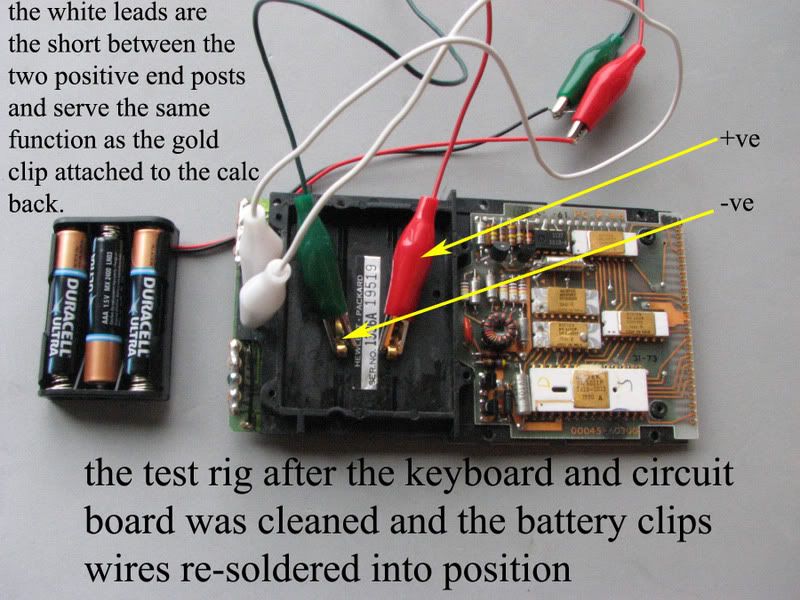
Well, using previously posted articles in the REPAIR section of the HP museum I was able to bring this up to snuff and fully functional to boot.
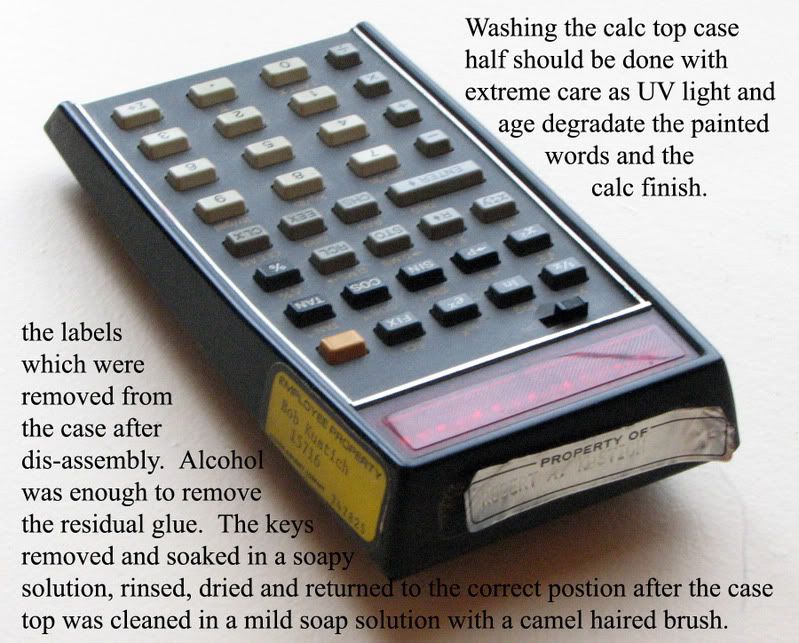
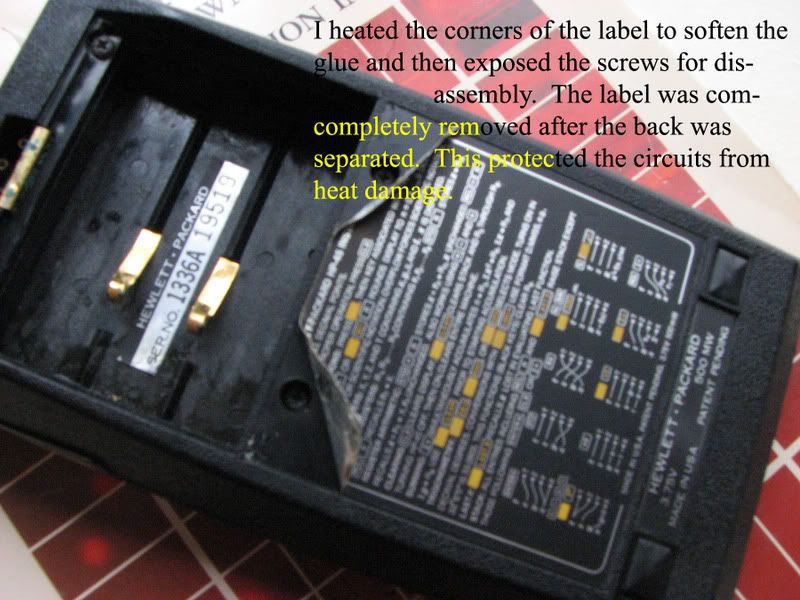
Please excuse the typos on the photos. Also I usually do not reinstall the label on the back but keep it with the calculator for attachment at a later date when I am assured that I do not have to get into the calc again.
So to date the following have been restored (R) and collected (C):
HP 92(R)
HP 97(R)
HP 67(X 3, R)
HP 67(NOS still shrink wrapped in original box)
HP 25c (R)
HP 35 (R)
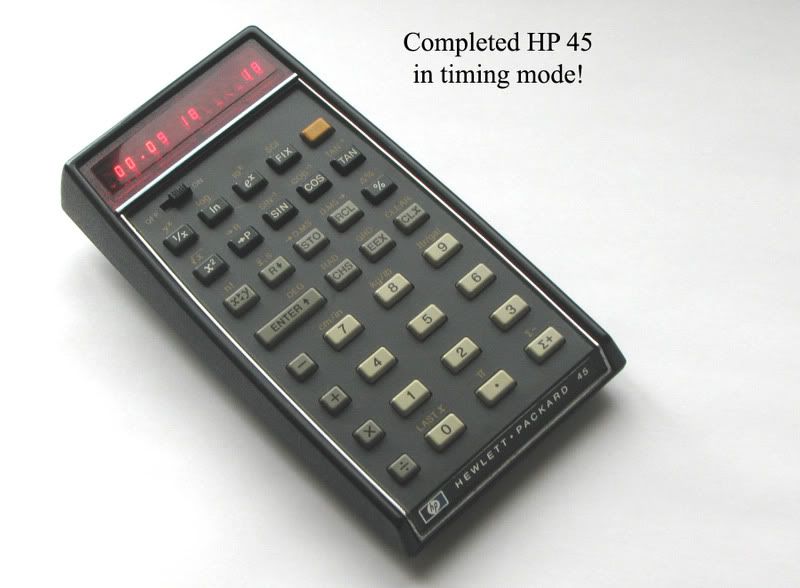
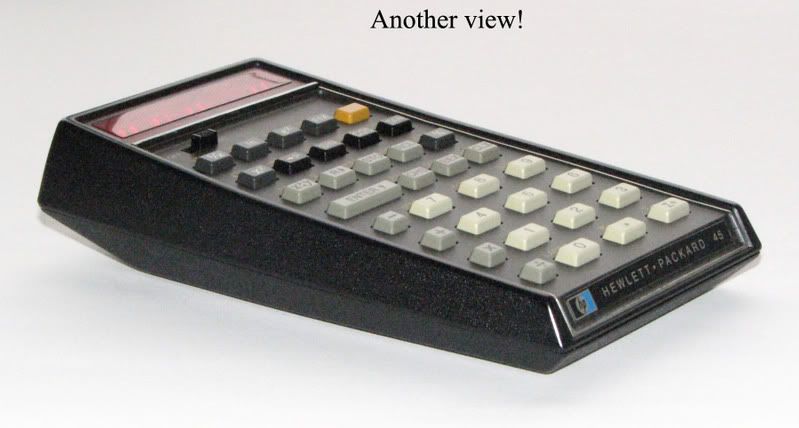
HP 45 (R)
HP 55 (R)
HP 41C (used in university)
HP 41CX (X 2 plus many accessories used in university)
Here are the pictures with embedded explanations:


Edited: 18 Jan 2008, 5:50 p.m. after one or more responses were posted
|